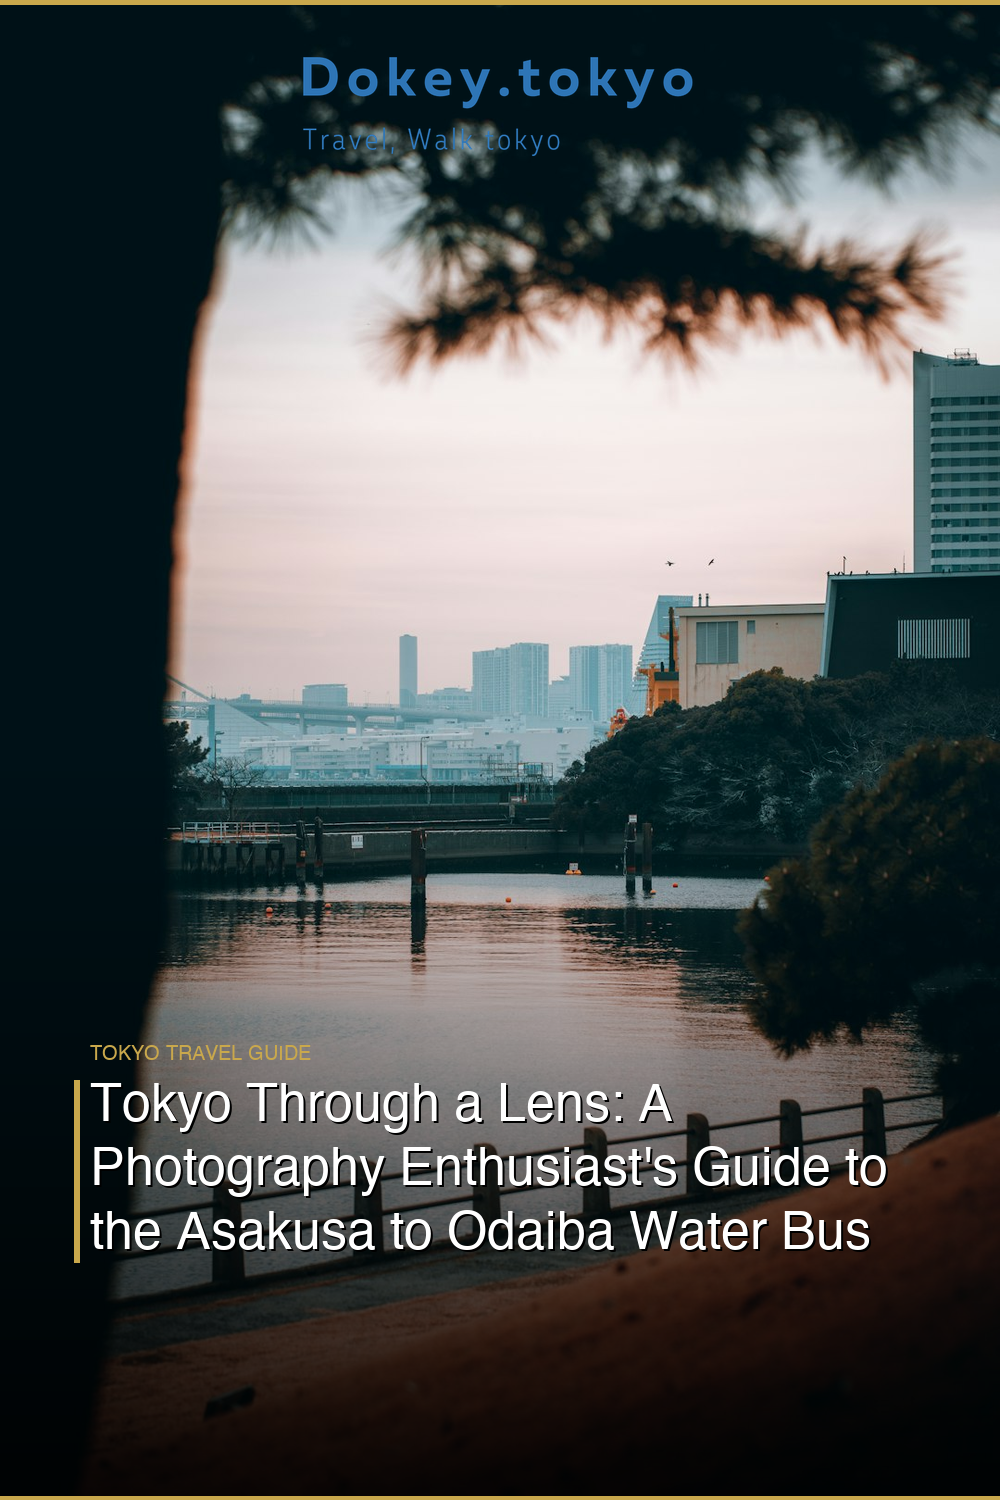
There’s a moment somewhere between Asakusa Pier and the open waters of Tokyo Bay when you realize you’ve been holding your breath — not from anxiety, but from the sheer visual overload of a city that refuses to be ordinary. The Asakusa to Odaiba water bus route, operated by Tokyo Cruise (Suijo Bus), is not just transportation. For a photographer, it’s a 50-minute rolling gallery of contrasts: ancient wooden temples giving way to brutalist bridges, narrow river channels opening into vast glittering bay, and the city’s relentless skyline shifting and rearranging itself with every bend of the Sumida River.
I stepped onto the pier at Asakusa on a crisp October morning just after 9 a.m., when the autumn light was still low and golden, angling hard off the Sumida River and painting the underside of the Azuma Bridge in shades of amber I hadn’t expected. The ferry — one of the futuristic Himiko vessels designed by manga legend Leiji Matsumoto — sat at the dock looking more like a spacecraft than a boat, its silver hull humming faintly. I could already smell the river: earthy, faintly salty, laced with diesel and something floral drifting down from the temple district behind me.
Why This Route Is a Photographer’s Gold Mine
Let’s be honest — Tokyo has no shortage of photogenic spots. But most of them require you to be stationary, fighting crowds, angling awkwardly around tour groups. The water bus solves all of that. Once you’re on the river, you have an unobstructed, ever-changing vantage point that most visitors never access. You’re shooting from below the city’s eye level, which transforms even ordinary bridges into dramatic architectural frames.
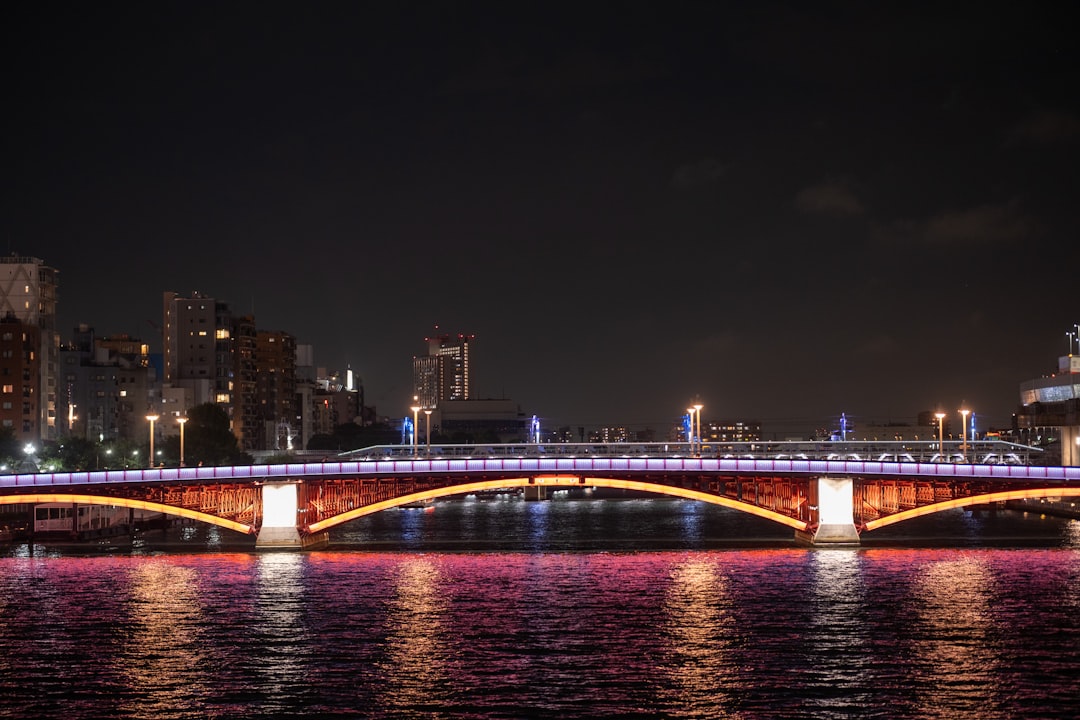
The Sumida River route passes under 12 bridges, each one distinctly different in color, design, and era. The Kiyosu Bridge — a suspension bridge painted deep red — photographs beautifully against an overcast sky. The Eitai Bridge gives you a compressed telephoto view of the financial district towers. And just before you reach Tokyo Bay, the dramatic Rainbow Bridge appears on the horizon like a reward for your patience.
The Himiko and Hotaluna Vessels: Your Floating Studio
There are two vessel types on this route — the Himiko and the Hotaluna, both designed by Matsumoto. I’d strongly recommend the Himiko for daytime trips. Its panoramic windows wrap around the upper deck lounge, and the curved ceiling gives you overhead shots of bridges as you pass beneath them that look genuinely surreal. Bring a wide-angle lens (I used a 16-35mm for interiors) and a mid-range zoom (70-200mm) for isolating bridge details and waterfront architecture from a distance.
The upper open-air deck, available on the Hotaluna, is preferable if you’re comfortable shooting in wind and want zero glass distortion. On clear days, this is where you want to be for skyline sequences.
The Asakusa Starting Point: Don’t Rush the Departure
🗾 Book on Viator: Tokyo Bay Cruise Adventure with options →
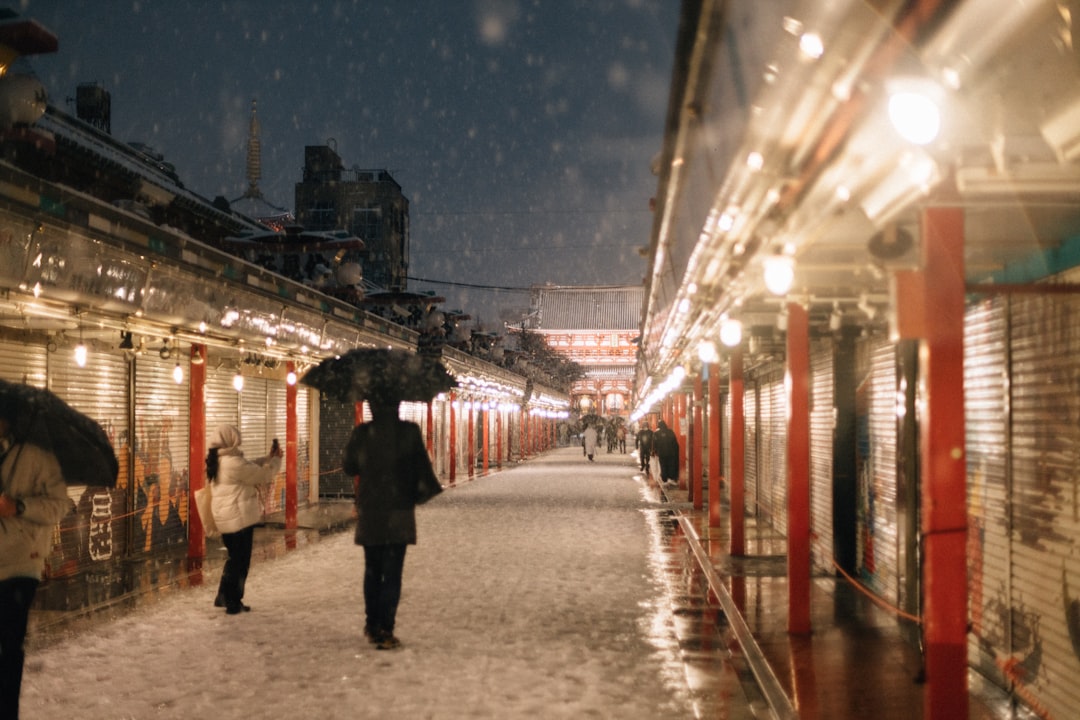
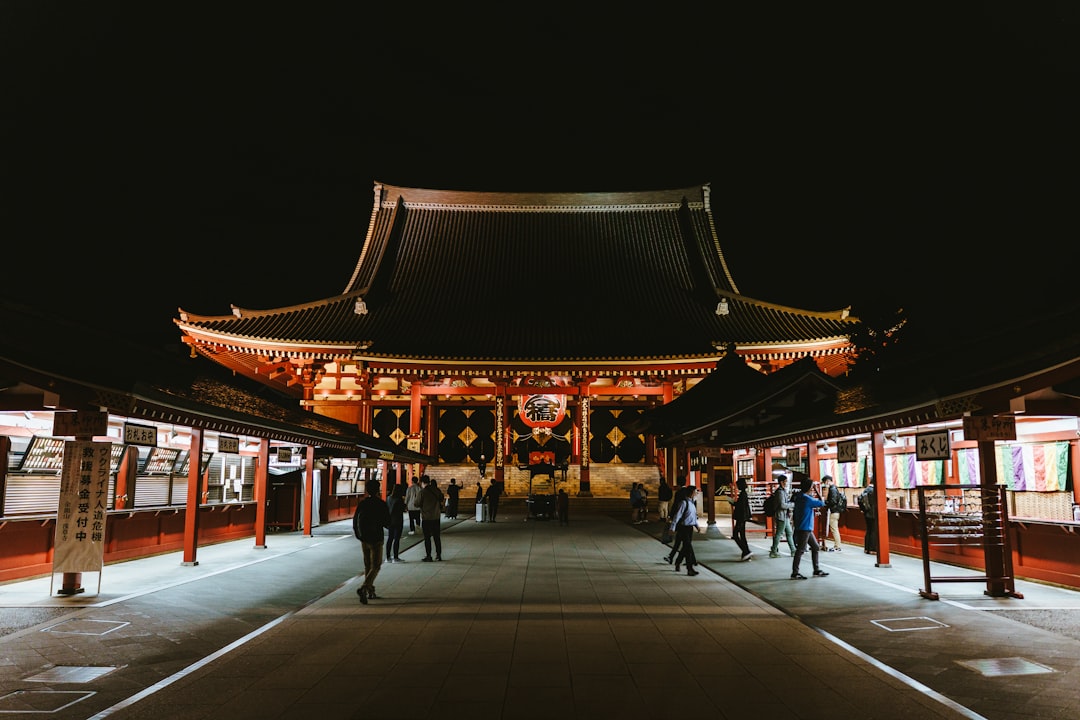
Most photographers make the mistake of rushing directly to the pier after visiting Senso-ji Temple. Don’t. Budget at least 90 minutes before your departure to work the Asakusa neighborhood. The Kaminarimon Gate (Thunder Gate) at dawn is one of the most iconic shots in Japan — deep red lacquer lantern, stone guardians, the five-story pagoda visible in the background — and the soft morning light before 8 a.m. gives you a crowd-free window that simply doesn’t exist at midday.
Wander into Nakamise Shopping Street not just for the visuals (the covered arcade is a classic composition exercise in leading lines and color saturation) but for breakfast. The ningyo-yaki stalls — small sponge cakes shaped like temple bells and cranes, filled with sweet red bean paste — start selling fresh around 8:30 a.m. They’re warm, slightly crispy on the outside, and soft inside. Eat one while you walk. Photograph the vendor’s hands working the iron molds. That’s your first great shot of the day.
Pier-Side Composition Tips Before Boarding
The Azuma Bridge viewed from the pier gives you a classic Tokyo layered shot — the red bridge in the midground, the Tokyo Skytree rising behind it, the ferry in the foreground. Shoot this before boarding. Use a polarizing filter if you have one; the river reflection in morning light is spectacular and the filter will punch up the contrast between water and sky.
On the Water: What to Shoot and When
🗾 Book on Viator: Bike tour with scenic water bus route →
Once you’re underway, the action comes fast. Here’s a rough shot list organized by travel time from Asakusa:
0–10 minutes: Sumida River urban canyon. The river is narrow here, flanked by apartment buildings and small parks. Shoot wide to capture the enclosure, then zoom in on residents walking the riverside paths — there’s often a grandmother feeding pigeons at the Komagata section, oblivious to the ferry gliding past.
10–25 minutes: Bridge sequence. This is your architecture window. Switch to your telephoto and work the bridges one by one. The Kiyosu Bridge (bright red, suspension style) and the Tsukuda Bridge are the most photogenic. Shoot in burst mode — the ferry moves faster than it feels.
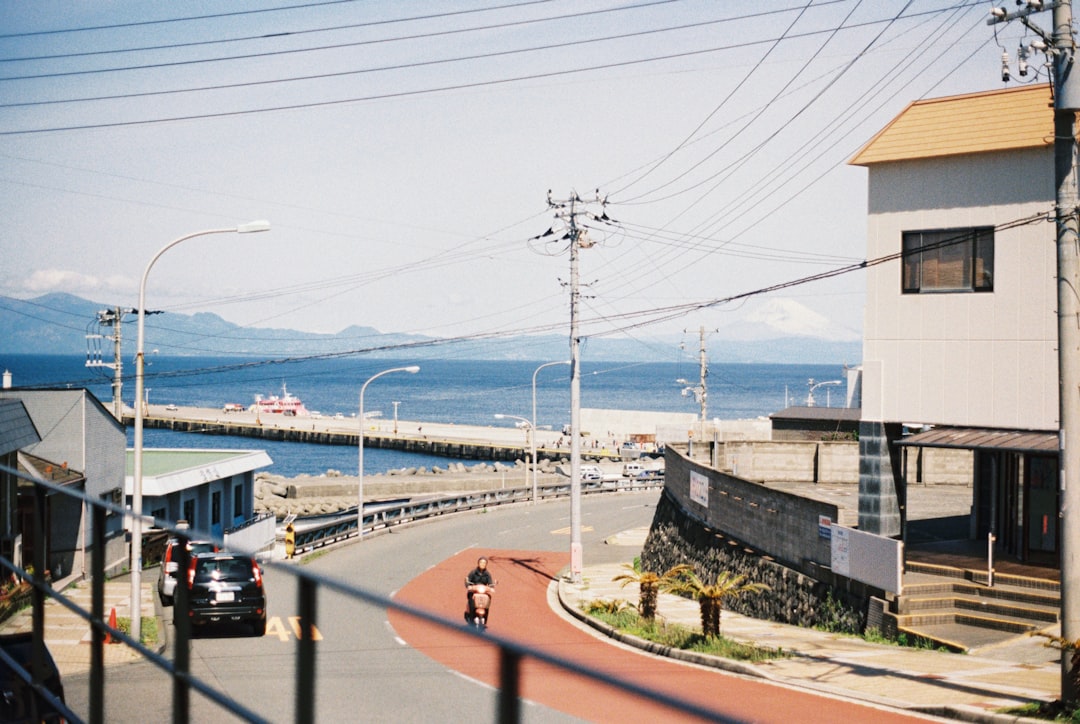
25–35 minutes: Industrial waterfront and river mouth. The aesthetic shifts dramatically here. Cranes, warehouses, container yards — it’s gritty and completely unexpected. For street photography fans with a documentary eye, this industrial transition zone is the most underrated stretch of the route.
One of my most unexpected discoveries happened here: I spotted a lone fisherman standing on a concrete breakwater, rod in hand, completely unbothered by the city skyline behind him. I had about eight seconds to compose and fire before we passed. A fellow passenger — a retired schoolteacher from Saitama who’d ridden this ferry dozens of times — leaned over and told me quietly, “He’s there every Tuesday. He never catches anything, but he always comes back.” That image and that sentence have lived in my head ever since.
35–50 minutes: Tokyo Bay approach and Odaiba. This is your grand finale. The Rainbow Bridge fills your frame, and if you time it right with the 11 a.m. or 3:30 p.m. departures, you’ll get gorgeous side lighting on the bridge cables. The Fuji TV Building’s silver sphere and the artificial beach at Odaiba Seaside Park are all visible before docking.
Odaiba: After You Dock
🎫 Book on Klook: Sumida River Boat Tour Odaiba →
For photographers, Odaiba rewards slow exploration. The teamLab Planets digital art installation (book in advance — it sells out weeks ahead) is a legitimate visual spectacle, though the no-camera policies in certain rooms will test your patience. The rooms that do allow photography — particularly the floating flower universe installation — are worth every yen of the ¥3,200 entry.
The Odaiba Seaside Park beachfront gives you the best reverse-angle shot of the Rainbow Bridge with the Tokyo skyline behind it — and a surprising bonus: a partial-scale Statue of Liberty replica stands on the shore, which makes for a wonderfully absurd compositional juxtaposition against the very Japanese skyline behind it.
For food, skip the mall food courts and walk to Decks Tokyo Beach, where the Yakatabune-style izakayas on the upper floors serve cold Sapporo draft beer and crispy ika karaage (deep-fried squid) while you watch the bay. Eat at the window. The view is part of the meal.
Best Time to Visit for Photography
Golden hour departures are the holy grail on this route. The 3:30 p.m. ferry from Asakusa arrives at Odaiba just as the light softens, and if you take the return trip around 5:30–6 p.m., you’ll hit the Rainbow Bridge at blue hour — that narrow window after sunset when the sky turns cobalt and the bridge lights come on, but there’s still enough ambient light to avoid the flat-black background that kills nighttime bridge shots.
Autumn (October–November) is ideal for color temperature and crowd levels. Spring (late March–early April) brings cherry blossoms along the Sumida riverbanks — particularly near Sumida Park — which transforms the first 15 minutes of the journey into something otherworldly.
Practical Tips for Photographers on This Route
- Book tickets online at the Tokyo Cruise website (tokyocruise.co.jp) — the 10:00 a.m. and 3:30 p.m. Asakusa departures are most popular and fill up on weekends.
- IC Card (Suica/Pasmo) accepted at the pier, which speeds up boarding.
- One-way fare: ¥1,720 (approximately $12 USD). A round-trip gives you completely different light directions.
- Bring a lens cloth — sea spray near the bay is real.
- The upper deck closes in heavy rain; build weather flexibility into your itinerary.
As we docked at Odaiba that October afternoon, I stayed in my seat a few extra minutes while other passengers filed out. The Rainbow Bridge had caught the last direct sunlight of the day — a thin stripe of warm orange along its top cable — and the water below had gone a deep, almost purple-grey. I fired three frames. The third one, slightly underexposed and grainy at ISO 1600, became the image I’ve printed and hung on my wall. Not because it was technically perfect, but because I can still feel the engine vibrating through the seat, and smell that mix of salt air and river, and hear the schoolteacher’s voice talking about the fisherman who never catches anything but always comes back.
Final Thoughts
The Asakusa to Odaiba water bus route doesn’t get the photography attention it deserves — and honestly, that’s part of what makes it so valuable. While everyone else is shooting Senso-ji from the same three angles, you’ll be on the water with a changing canvas and a story that moves. Book the late-afternoon ferry, charge your batteries, and bring more memory cards than you think you’ll need. Tokyo from the river is a different city entirely — and once you see it this way, you’ll wonder why you ever shot it from the ground.
Ready to experience it?
🗾 Book on Viator: Mt. Fuji and Hakone Day Tour from Tokyo →