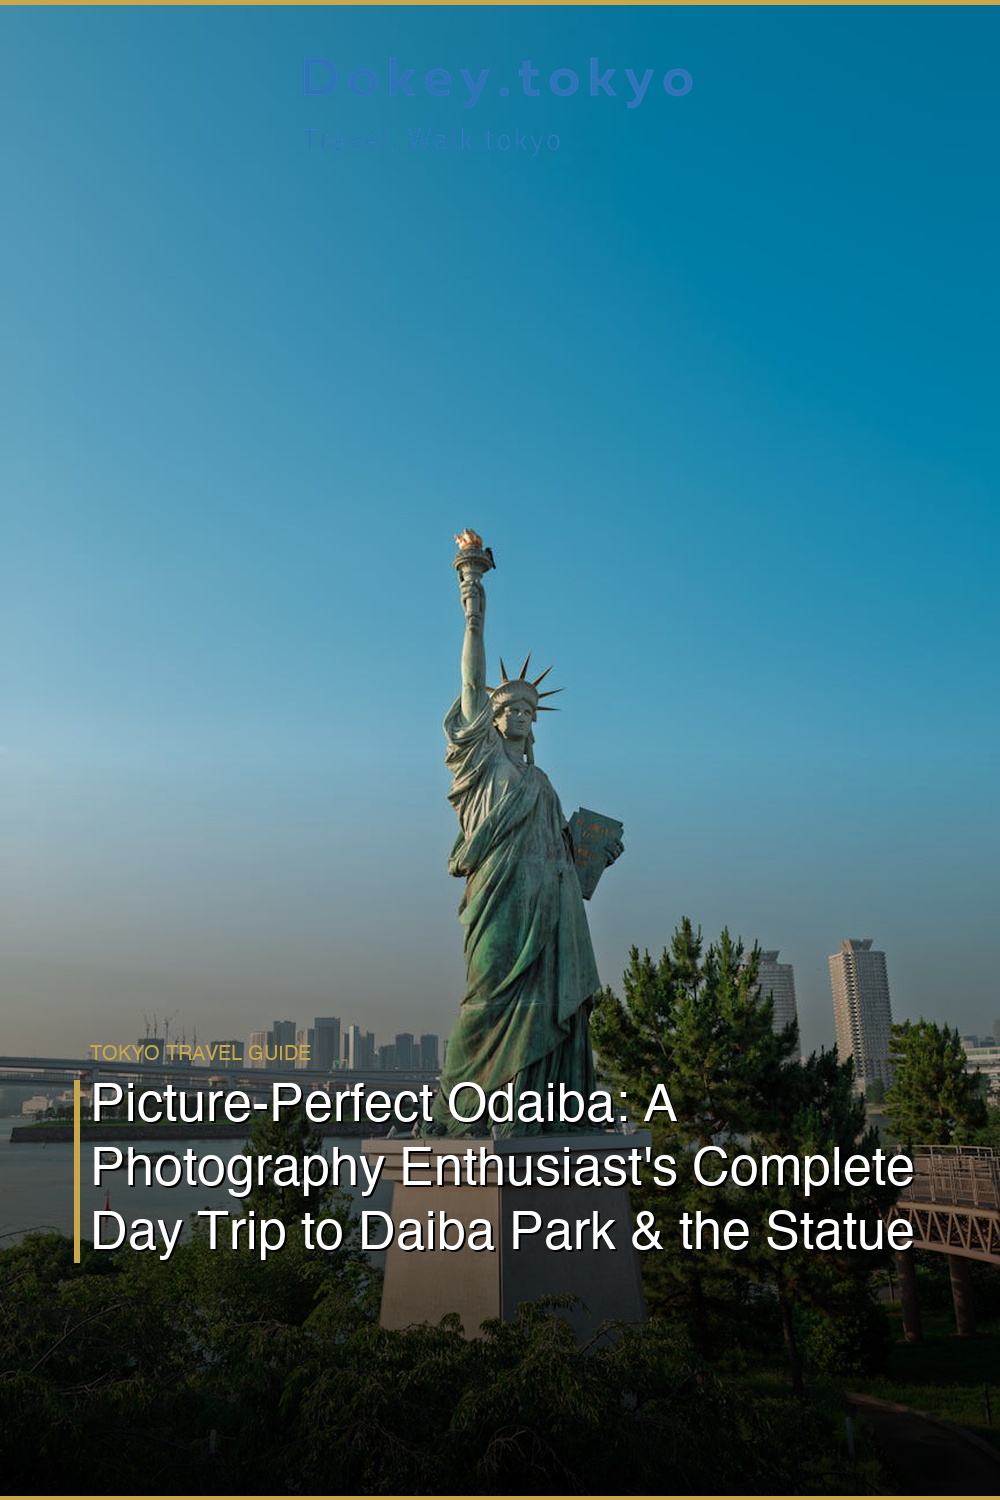
If you’ve ever scrolled through Instagram and stopped dead on a photo of a miniature Statue of Liberty standing against the Tokyo skyline with Rainbow Bridge glowing behind it — that was Odaiba, and yes, it’s every bit as cinematic in real life. For photography enthusiasts, this man-made island in Tokyo Bay is one of the most underrated shooting locations in all of Japan. You get sweeping waterfront vistas, brutalist architecture, pastel sunsets, neon reflections on the bay, and quirky cultural mashups that simply don’t exist anywhere else on earth. Most tourists hit Odaiba for the malls and the TeamLab exhibits. But you? You’re going there for the frames.
I still remember stepping off the Yurikamome Line at Daiba Station for the first time, the automatic doors sliding open to a blast of warm, salt-tinged bay air. It was late September, about 4:30 in the afternoon, and the sky had turned that particular shade of bruised orange that makes every photographer instinctively reach for their camera. I almost knocked over my tripod bag fumbling it off my shoulder before I’d even reached the exit. The light was already doing something extraordinary over Rainbow Bridge, and I hadn’t even found the park yet.
Getting There: The Scenic Route Is the Strategy
🎫 Book on Klook: Odaiba Day Trip From Central Tokyo →
For photographers, the journey to Odaiba is part of the shoot. Skip the direct bus. Instead, take the Yurikamome Line from Shimbashi Station — this fully automated, driverless monorail arcs over Tokyo Bay on an elevated track, giving you a moving panorama of the city’s waterfront, Rainbow Bridge, and the bay itself. Sit at the very front of the train (first car, front-facing seats) and you’ll get an unobstructed driver’s-eye view of the entire approach. It’s a six-minute window of pure compositional gold.
Alternatively, take the Tokyo Waterfront Area Rapid Transit (Rinkai Line) to Tokyo Teleport Station — useful if you’re coming from Shinjuku or Osaki — then walk north along the waterfront promenade. That walk itself, past shipping container architecture and quiet dockside benches, is worth 20 minutes of your memory card.
Practical transit tip: A standard IC card (Suica or Pasmo) works on both lines. The Yurikamome from Shimbashi costs around ¥320 one way. Budget about 30–40 minutes total from central Tokyo.
Daiba Park: Your First Shooting Location
🎫 Book on Klook: Odaiba Daiba Park Photography Tour →

Daiba Park — officially called Odaiba Kaihin Park — is where the magic concentrates for photographers. This waterfront park stretches along the bay with manicured lawns, sandy beach sections, and wide open sightlines. Here’s what you’re actually pointing your camera at:
The Statue of Liberty (Tokyo Edition)
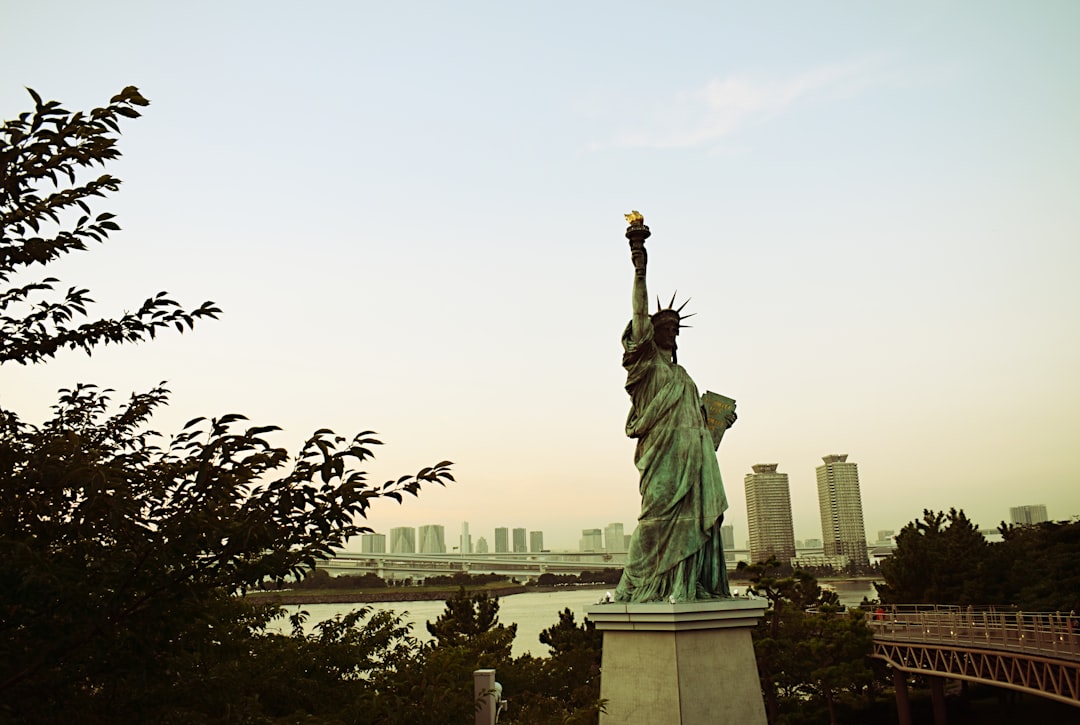
Tokyo’s Statue of Liberty replica stands on a small promontory at the northern end of the park, facing Rainbow Bridge. She’s about one-quarter the size of her New York counterpart, installed permanently in 2000 after a temporary loan from France in the late 1990s. She’s not an afterthought — she’s the anchor of the composition. Use the statue as a foreground element with Rainbow Bridge and the metropolitan skyline layered behind her. A 24–70mm lens works beautifully here. If you have a telephoto (85mm or longer), compress the bridge right behind the statue for that iconic stacked-perspective shot.
The best light hits this spot approximately one hour before sunset. In summer (June–August), that’s around 6:30–7:00 PM. In winter, you’re looking at 3:30–4:30 PM, which is actually perfect for blue-hour shots afterward. Arrive early, scout your angles, and claim your position on the waterfront railing before the evening crowds arrive.
The Beach & Bay Reflections
Few people know there’s a small sandy beach just east of the statue promontory. At low tide, the wet sand creates mirror-like reflections of Rainbow Bridge and the distant Tokyo Tower. I found this spot almost by accident, following a local photographer who was setting up his tripod at the water’s edge around 5 PM. He noticed me eyeing his setup, laughed, and said in excellent English, “Nobody comes down here — everybody stays on the path.” He was right. I got some of my favorite Tokyo shots from that beach, with the rainbow colors of the bridge doubled in the sand at my feet.
Shooting Rainbow Bridge at Night
Stay past sunset. I cannot stress this enough. Rainbow Bridge illuminates after dark in white and rainbow-cycle LED lighting, and the reflections across the bay become extraordinary. Set up your tripod, drop to ISO 100–200, and work with 10–25 second exposures to capture the light trails from passing boats. The park stays open and well-lit for pedestrians, so you’ll be comfortable shooting here until 9 or 10 PM.
Beyond the Park: Shooting Locations for the Dedicated Photographer
Decks Tokyo Beach & Palette Town (Exterior Architecture)
The shopping complexes along Odaiba’s waterfront have distinctive exterior designs that photograph brilliantly — particularly the Decks Tokyo Beach building, with its layered decks and industrial railings overlooking the water. Shoot from below, using the architectural geometry as a frame for the bay beyond. Early morning (before 10 AM) gives you clean shots without crowds.
teamLab Planets or Borderless (If You Book Ahead)
If you’re a photographer who loves abstract, long-exposure art installations, teamLab is worth building your entire trip around. Both the Planets (in Toyosu, a short ride away) and the Borderless locations offer immersive digital art environments. Photography is explicitly encouraged. Bring your widest lens and be prepared to shoot in near-darkness. Book tickets online well in advance — these sell out weeks ahead.
Fuji Television Building
The Fuji TV headquarters building is a surrealist’s dream — a massive steel-and-glass structure with a giant titanium sphere suspended between two towers. Shoot it from across the plaza at mid-morning light for graphic architectural studies. The sphere glints silver against blue sky in a way that feels entirely science-fiction.
Food Stops That Are Worth Photographing Too
Odaiba’s food scene skews toward casual and international, which suits a long shooting day perfectly. Decks Tokyo Beach’s Hong Kong Street on the 4th–5th floors is a retro Hong Kong-themed food corridor with neon signs, narrow alleys, and lanterns hanging overhead — a genuinely great photography subject that also serves solid dim sum and BBQ pork buns. Shoot the environment first, then eat.
For a sit-down moment, the terrace cafes along the waterfront promenade serve decent coffee and sandwiches with unobstructed bay views. Nothing gastronomically revolutionary, but the light is good and your camera can rest on the railing while you recover your feet.
Odaiba ramen secret: Head to the Decks food floor and look for the small tonkotsu ramen stall tucked beside the escalators on the 5th floor. The chashu is thick-cut and lacquered in a dark soy glaze — photogenic enough that I shot it before eating, which is the highest compliment I can give any bowl of food.
Practical Photography Tips for the Day
- Best season: October–November for clear skies, comfortable temperatures, and earlier sunsets that make blue-hour logistics easier.
- Worst season: July–August. Heat haze over the bay softens your distant shots, humidity fogs your lens, and crowds are brutal.
- Gear checklist: Wide-angle for landscapes, a 70–200mm for compressing Rainbow Bridge, a sturdy travel tripod for night work, and a polarizing filter to cut bay glare during midday shooting.
- ND filters: Useful if you want silky water effects during daylight hours along the beach.
- Crowds: Weekdays are dramatically quieter. If you must visit on a weekend, arrive at the park before 9 AM for crowd-free compositions, retreat for lunch, then return at golden hour.
Timing Your Perfect Day
🎫 Book on Klook: Statue of Liberty Tokyo Visit →
A well-structured photography day in Odaiba looks like this: arrive at Daiba Station around 9 AM, shoot the park and Statue of Liberty in soft morning light, explore the Fuji TV building exterior by 11 AM, break for lunch, explore interior locations midday, return to the waterfront for golden hour at 4–5 PM, stay for blue hour and Rainbow Bridge illumination until 8–9 PM, then take the Yurikamome back to Shimbashi (front car, again) for the glittering nighttime city-approach shot.
Just before I packed up my tripod on my last visit, I sat down on the concrete seawall for a moment, back against the railing, facing away from the bay. The city behind me was doing its full Tokyo evening performance — the Fuji TV sphere catching the last pink light, a cluster of school kids laughing their way past the Statue of Liberty with their phones out, the smell of yakitori drifting over from a vendor cart near the park entrance, faint and smoky and exactly right. I realized I’d been shooting for nearly six hours without noticing the time pass. That’s what Odaiba does to you when you arrive with a camera and an open afternoon.
Final Shot: Should You Go?
For photographers, Odaiba is a day trip that punches far above its tourist-brochure reputation. The Statue of Liberty alone — that strange, beautiful cultural collision of French symbolism against a Japanese skyline — is worth the 30-minute monorail ride. Add Rainbow Bridge at blue hour, a hidden beach full of reflections, and architectural oddities around every corner, and you have a full creative day that most Tokyo visitors completely miss. Put it on your list. Pack your wide-angle, charge your batteries, and get there before sunset. The bay will do the rest.