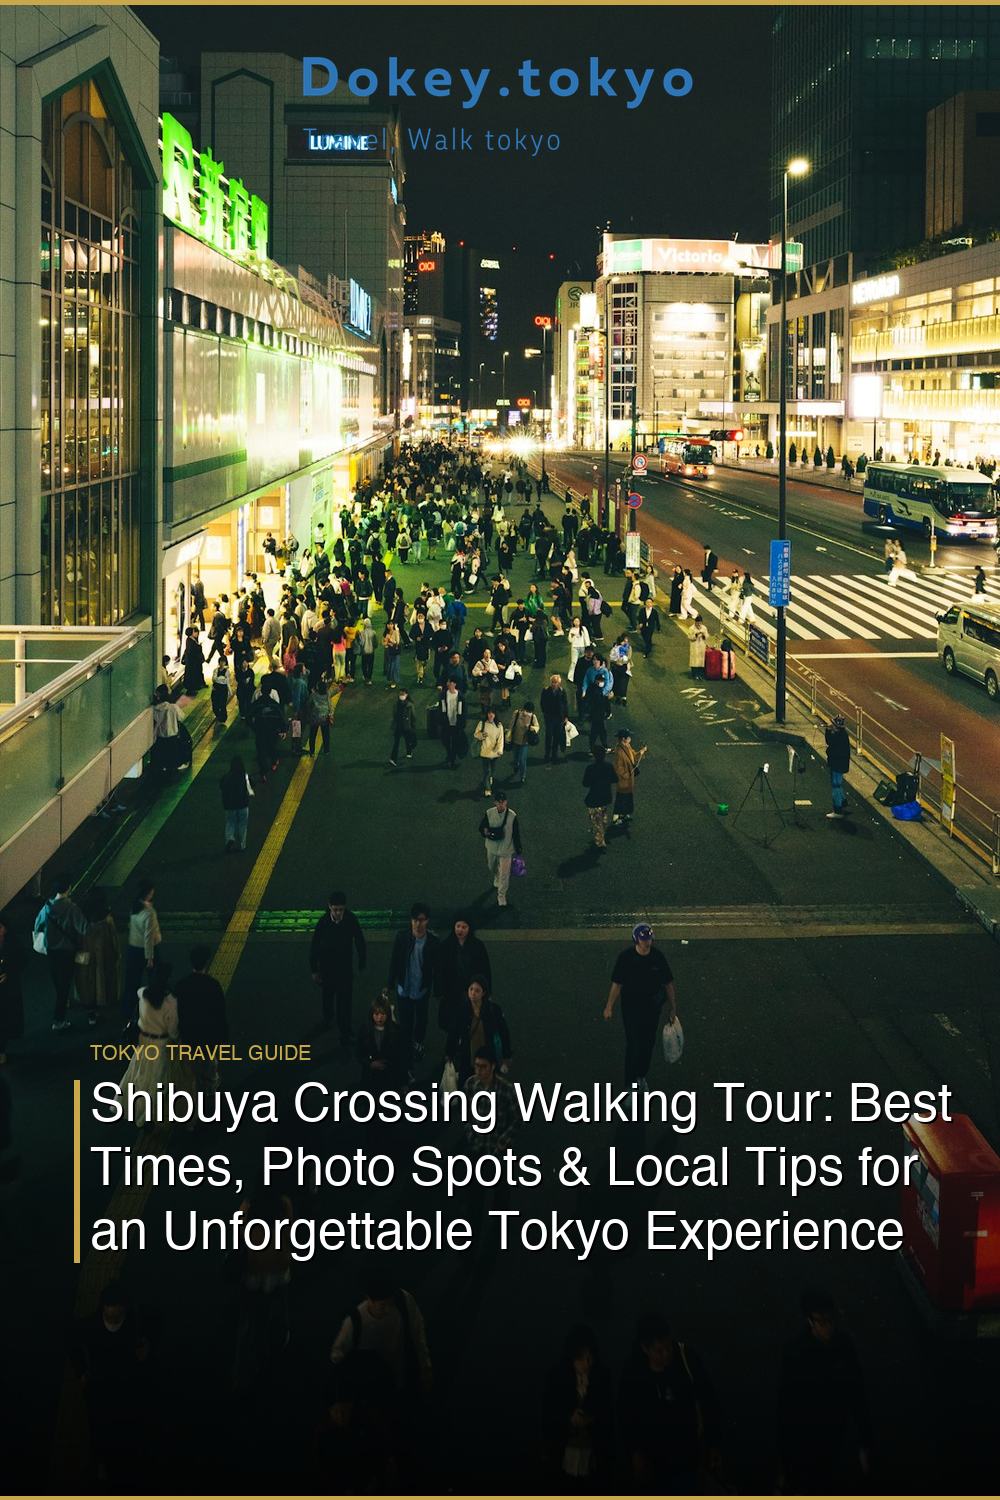
If there’s one intersection on Earth that makes photographers forget to breathe, it’s Shibuya Crossing. Five lanes of traffic halt simultaneously, the lights flip, and suddenly 2,000 people pour into the street from every direction like a choreographed river of humanity — umbrellas, neon reflections, business suits, and Harajuku fashion all colliding in one magnificent 45-second burst of urban poetry. For photography enthusiasts, this is not just a tourist attraction. It is a living, breathing, ever-changing studio with no booking fee.
The first time I stood at the edge of that crossing, camera already raised, I completely froze. It was around 7:15 p.m. on a drizzly November Tuesday, and the wet asphalt was throwing back kaleidoscope reflections of the Q-plaza LED screens above. The shutter clicked once, and then I just stood there with my mouth open, raindrops hitting the back of my neck, listening to the hollow clatter of thousands of shoes all hitting pavement at once — a sound I genuinely cannot compare to anything else I’ve ever heard.
Why Shibuya Crossing Is a Photographer’s Dream (And a Tourist Trap If You’re Not Prepared)
Let’s be honest: if you show up at Shibuya Crossing at 2 p.m. on a Wednesday with your phone camera and zero plan, you’ll get the same shot that’s been uploaded to Instagram 40 million times. The crowds are there but thinner, the light is flat, and you’re fighting for elbow room with tour groups. But if you come with intention — knowing when, where, and how to position yourself — you’ll walk away with frames that look nothing like the postcard version.
This walking tour is built specifically for photographers who want to work the crossing like a local cinematographer, not like a tourist checking a box.
Best Times to Shoot Shibuya Crossing
The Golden Hour Rush (5:30 p.m. – 7:00 p.m.)
This is your absolute prime window, especially on weekdays. The salary workers pour out of Shibuya Station, the ambient light is still holding in the sky, and the neon signage is beginning to assert itself. The mix of natural and artificial light during this 90-minute window is genuinely magical for exposure balance — you won’t be fighting blown-out highlights from signs against a pitch-black sky. Bring a fast prime lens (a 35mm f/1.8 or 50mm f/1.4 is perfect) and shoot wide open to isolate individual walkers against the blurred chaos behind them.
Rainy Evenings (Any Season)
Rain transforms Shibuya Crossing into something almost supernatural. The wet pavement doubles every neon sign, every LED billboard, every taxi headlight. If you see rain in the forecast, do not stay in your hotel. This is your signal to grab your gear and run. Waterproof your camera, pack a lens cloth, and embrace it. The best shots I’ve ever gotten here were taken in the rain.
Blue Hour and Beyond (7:00 p.m. – 8:30 p.m.)
Once the sky goes deep indigo, the crossing shifts into full cinematic mode. Longer exposures from elevated positions will streak the car headlights and tail lights into ribbons of red and white. This is the time to use a tripod (more on where to set up legally below).
Early Morning (6:00 a.m. – 7:30 a.m.)
Counterintuitive, but stunning. The crossing is nearly empty, the city is just waking up, and the cleaning crews are still out. The silence is eerie after all that nighttime intensity. Shoot the crossing itself — the painted lines, the geometry, the lone figure walking through — rather than the crowd.
The 5 Best Photo Spots on the Shibuya Crossing Walking Tour
Spot 1: Starbucks Second Floor Window (The Classic Elevated Shot)
Everyone knows about the Starbucks overlooking the crossing, but most people don’t know how to use it. Arrive at least 30 minutes before your target shooting time, order your drink, and position yourself at a window seat on the left side facing the crossing. Shoot in burst mode during the scramble. The key is going slightly longer than you think — a 70-200mm lens at 100mm compresses the crowd beautifully and makes it look even denser than it is.
Spot 2: Mag’s Park Rooftop (Don Quijote Building)
This is the spot most photographers either don’t know about or forget to mention. The rooftop of the Don Quijote building on the south side of the crossing gives you a completely different angle — slightly lower than the Starbucks view but directly in front of the famous Shibuya 109 building. It’s free to access and far less crowded than the Starbucks window. I actually stumbled on it after following a local photographer who was packing up her Fujifilm X-T4 and headed for the elevators — she pointed up with a grin and said simply, “rooftop, better angle,” and she was absolutely right.
Spot 3: Street Level, Northeast Corner
Don’t neglect ground level. Position yourself at the northeast corner (nearest to the Shibuya Hikarie exit) and shoot at a low angle — literally crouch down — right as the light turns green. You get a worm’s-eye view of the crowd surging toward you, framed by the towers above. Use a wide angle lens (24mm or wider) and make sure your shutter speed is fast enough (1/250s minimum) to freeze motion.
Spot 4: Inside the Crossing (Yes, Really)
This one surprises people: you can shoot from inside the crossing while walking through it. You’re a pedestrian. Walk in, stop briefly in the center, shoot 360 degrees, and keep moving before the light changes. It feels chaotic and alive in a way no elevated shot can replicate. Shoot vertical for Instagram, horizontal for prints. The faces around you, the motion blur of someone rushing past, the sheer scale of being surrounded — it’s irreplaceable.
Spot 5: Shibuya Sky Observatory (Shibuya Scramble Square, 46th Floor)
For the ultimate wide-angle aerial photograph of Shibuya Crossing, the Shibuya Sky observatory is non-negotiable. It costs around ¥2,000 (roughly $13 USD), and yes, it’s worth every yen. Book tickets online in advance — they sell out, especially on weekends. Shoot at blue hour from the outdoor observation deck. You’ll see the crossing below you, the rail lines snaking in from every direction, and the entire Shibuya basin glowing like a circuit board.
Local Tips That Will Change How You Shoot Here
Timing the Cycle
The crossing cycle runs roughly every 2–3 minutes. Use the time between scrambles to study your composition, adjust your settings, and position yourself. Don’t spend the scramble itself fumbling with your camera — have everything dialed in before the light changes.
Gear Recommendations for This Specific Location
A zoom lens (24-70mm or 24-105mm) gives you the most flexibility if you’re walking the tour. Bring extra batteries — cold evenings drain them fast. A small travel tripod or a Gorillapod is ideal for the elevated shots without annoying everyone around you. A circular polarizer filter will cut glare on the pavement during rainy nights.
The Tsutaya Building Balcony Hack
The Tsutaya building (connected to the Starbucks) has a small exterior ledge area near the upper floors. Access varies depending on the season and events, but it’s worth checking. It gives a slightly different angle from the Starbucks windows and feels much more private.
Eating and Refueling on Your Walking Tour
After your shoot, walk about five minutes northeast to Nonbei Yokocho (“Drunkard’s Alley”), a narrow lantern-lit alley lined with tiny izakayas. It’s atmospheric, warm, and incredibly photogenic in its own right. Order the yakitori at the third stall on the left — they do a chicken thigh skewer with a house tare glaze that I still dream about. It’s the kind of meal you eat standing up, sake cup in hand, while the cook doesn’t look up from the grill.
How to Structure Your Shibuya Crossing Photography Walk
Here’s a suggested timeline for a single evening session:
- 4:30 p.m. — Arrive early, walk the streets around the crossing with no camera pressure. Observe the light and crowd flow.
- 5:30 p.m. — Claim your Starbucks window seat. Shoot golden hour scrambles.
- 6:30 p.m. — Move to Don Quijote rooftop for a different angle as the sky darkens.
- 7:00 p.m. — Go street level for ground-angle shots and walk-through shots.
- 7:45 p.m. — Head to Shibuya Sky if you pre-booked. Blue hour aerial shots.
- 9:00 p.m. — Wind down at Nonbei Yokocho. Eat. Drink. Review your shots.
On my last evening at Shibuya Crossing — a cold January night, around 7:50 p.m. — I was leaning against the railing near the Hikarie exit, camera finally lowered, just watching. The crossing went green, and a woman in a bright red wool coat walked directly through the center alone, completely unhurried, while everyone else rushed around her. For three full seconds she was the still point of a turning world, the neon catching her coat like a stage light. I raised the camera and got one frame. That single image is the one I’ve printed and framed on my wall.
Final Thoughts Before You Book That Flight
Shibuya Crossing rewards patience, planning, and presence. For photographers, it offers something rare: a subject that never repeats itself, never gives you the same frame twice, and never stops moving. Come prepared with your gear, your timing, and your curiosity — and leave the checklist mentality behind. The best shot isn’t the one you planned. It’s the one the crossing gives you when you’re finally paying attention.