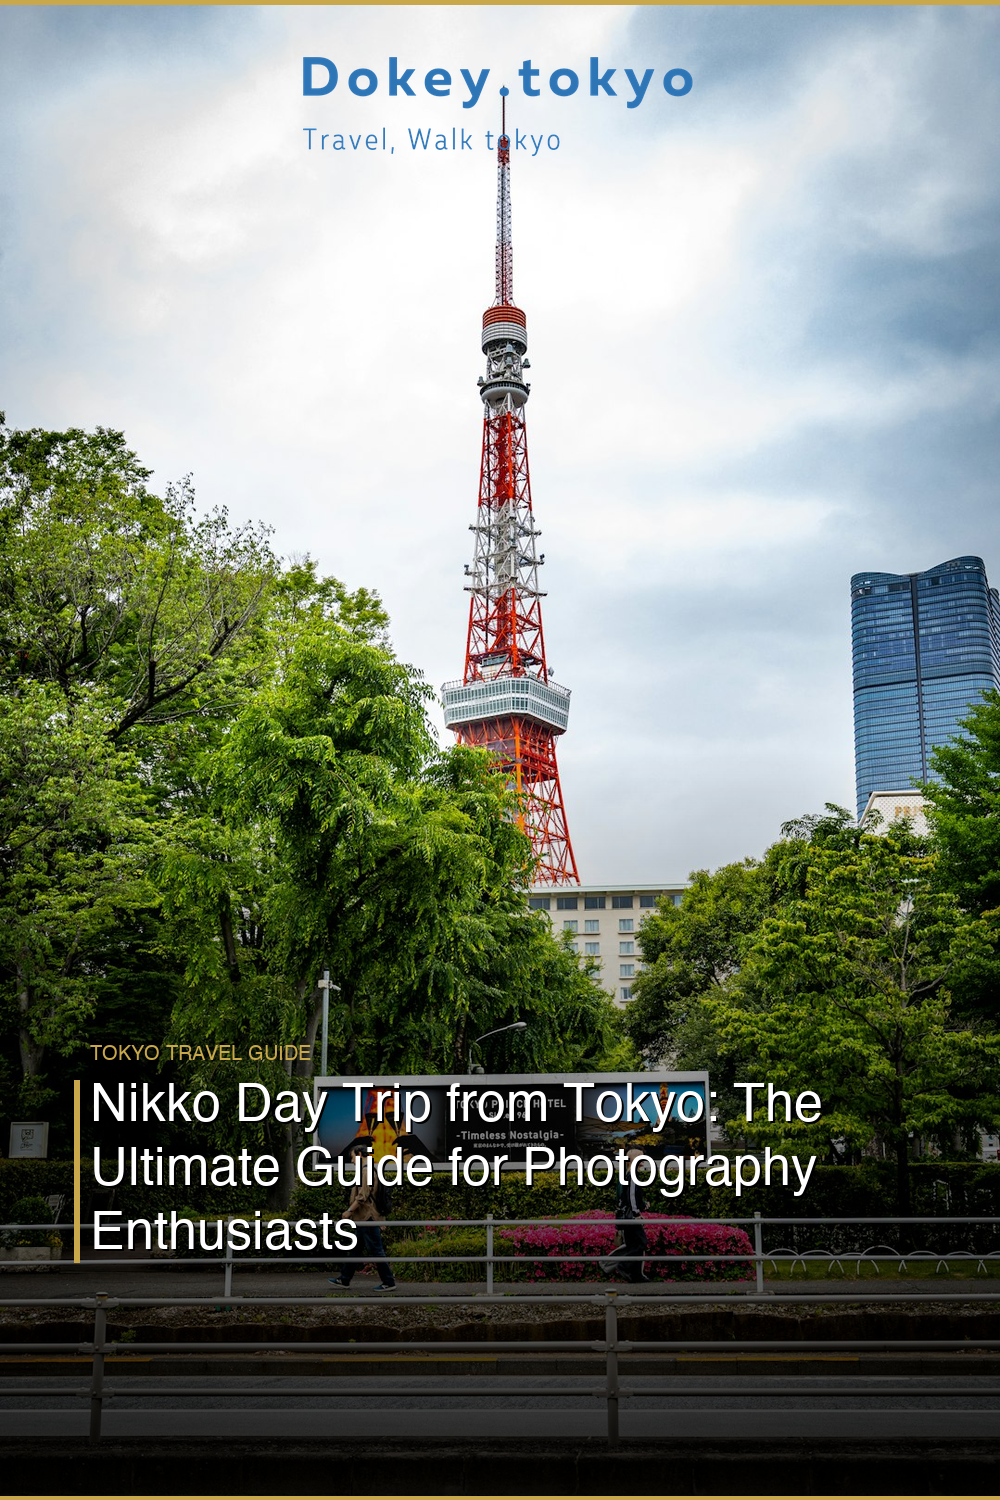
If you’re the kind of traveler who books a trip around golden hour and packs more memory cards than underwear, Nikko is going to ruin you — in the absolute best way. This UNESCO World Heritage mountain town sits just under two hours from Tokyo, and it packs more photogenic drama into a single valley than most destinations manage across an entire country. We’re talking ornately carved shrines draped in cedar mist, a waterfall that roars so loud you feel it in your chest, and in autumn, a colour explosion that looks like someone spilled a painter’s palette across the hillside. I’ve done this day trip four times now, in four different seasons, and every single time I’ve come home with a card full of shots I genuinely couldn’t believe I took.
I still remember stepping off the Tobu Nikko Limited Express on my very first visit — it was early October, just past 9am, and the air hit me like cold silk against my face after the stuffy Tokyo warmth. The moment I walked out of the small wooden station building, the smell of cedar and damp earth washed over me, and somewhere above the treeline, I could already see the first blush of amber leaves beginning to turn. I stood on the pavement clutching my camera bag and thought, I need more time here.
Why Nikko Is a Photographer’s Dream Destination
Nikko isn’t just beautiful — it’s structurally photogenic. The Toshogu Shrine complex alone offers layers of architectural detail that reward hours of close-up work: lacquered red gates, gold-leaf carvings, sleeping cat reliefs, and stone lanterns standing in misty rows beneath ancient cedar trees. The light filters through the canopy in long, dusty shafts that will make your lens weep with joy. And because the site is nestled into a mountain valley, you get natural framing everywhere you point.
But what really sets Nikko apart for photographers is the variety within a single day trip. You can shoot intricate architecture in the morning, pivot to thundering waterfalls by midday, and end the afternoon chasing reflections in Lake Chuzenji — all without getting back in a car.
Getting There: The Shot Starts Before You Arrive
The Tobu Nikko Line — Worth It for the Journey Alone
From Tokyo, the most affordable and practical option is the Tobu Nikko Limited Express from Asakusa Station. A reserved-seat express ticket runs around ¥1,360 each way on top of the base fare, and the journey takes roughly 1 hour 50 minutes. Book a window seat on the right side heading toward Nikko — as the train climbs into the mountains, the views through the glass become genuinely worth shooting. I’ve gotten some of my favourite abstract landscape shots through that train window, the kind where motion blur turns a cedar forest into a watercolour.
Alternatively, the JR Pass covers the Shinkansen to Utsunomiya and then a local train to Nikko, but it’s slower overall. For photographers, I recommend leaving Tokyo by 7:30am to arrive before the tour bus crowds descend around 10am. That two-hour window of soft morning light and thin crowds is everything.
What to Photograph (And When)
🗾 Book on Viator: Customized day trip planning with licens →
Toshogu Shrine: Shoot It Before 10am
The Toshogu Shrine complex is Nikko’s crown jewel and the place you’ll probably spend the longest. Dedicated to Tokugawa Ieyasu, the founder of the Edo shogunate, it’s an exercise in deliberate opulence — every surface carved, gilded, and painted. For photographers, the key is arriving early.
The Yomeimon Gate — nicknamed the “Gate of Sunsets” because people apparently spent all day staring at it — is your hero shot. In the morning, the light from the east catches the white and gold facade in a way that turns it almost luminous. By 11am, tour groups are three-deep in front of it. At 8:30am, you might have it nearly to yourself.
Don’t overlook the Nemuri-neko (Sleeping Cat) carving tucked above a small doorway — it’s tiny, easy to miss, and often photographed by people who elbow each other out of the way. Get there early, use a telephoto if you have one, and wait for the moment when no one’s hand is reaching up into your shot.
Here’s something I stumbled onto entirely by accident: on my third visit, I ducked into a narrow stone staircase to the left of the main shrine path that most visitors walk straight past. It leads up through the cedar forest to Tokugawa Ieyasu’s actual mausoleum — a much quieter, mossy, almost cathedral-like space with dappled light coming through the trees. A local volunteer guide named Kenji told me it’s called Okusha, and he said most tourists never climb those 200 steps. The shots I got up there — fog-threaded cedar trunks, stone lanterns half-swallowed by lichen — are some of my all-time favourites from Japan.
Kegon Falls: Chase the Mist
From the shrine area, hop on the Tobu Bus toward Lake Chuzenji (about 45 minutes, ¥1,100 each way). The road winds up the famous Irohazaka switchback — 48 hairpin turns that photographers will want to brace for, or better yet, shoot from. The bus windows aren’t ideal, but the coloured leaves pressing against the glass in autumn create an accidental abstract beauty.
At the top, Kegon Falls drops 97 metres into a churning pool below, and if you pay the small fee (¥570) for the elevator down to the observation deck, you get a front-row seat to one of Japan’s most powerful natural spectacles. Go for a slow shutter speed — 1/4 second to 1 second — to turn the cascade into a silky white veil. Early morning or after recent rain, mist rises from the base and catches the light in ways that feel almost supernatural.
Lake Chuzenji: Reflections and Stillness
Just a short walk from Kegon Falls, Lake Chuzenji is placid and wide, rimmed by mountains. In autumn, the tree reflections are mirror-perfect. In winter, the lake develops a glassy stillness that’s almost eerie. Sunrise here is phenomenal, though that requires an overnight stay in Nikko — worth considering if you want to turn this into a two-day trip.
Eating in Nikko: Fuel Between Frames
🗾 Book on Viator: Custom stops and hidden gems exploration →
Nikko has a surprisingly good food scene for a small mountain town. The local specialty is yuba — delicate sheets of tofu skin — and you’ll find it everywhere: in soups, as sashimi-style slices with soy, even in desserts. Stop at Gyoshintei restaurant near the shrine area for a traditional multi-course yuba set lunch (around ¥2,500). It’s quiet, beautifully plated, and absolutely worth putting your camera down for twenty minutes.
For something quicker between shooting locations, grab yuba manju (sweet buns filled with tofu skin paste) from one of the small vendors along the main street approaching the shrines. They’re warm, pillowy, and cost about ¥150 each.
Best Time to Visit for Photographers
- Autumn (mid-October to mid-November): The undisputed peak. Maple and oak trees ignite in crimson, orange, and gold. Crowds are at their highest, so arrive earliest. For similar dramatic seasonal photography, Mt. Fuji also offers stunning autumn colour.
- Spring (late April to May): Cherry blossoms near the shrine approach, soft green new growth, and far fewer tourists than autumn.
- Winter (December to February): Snow-dusted stone lanterns and silent, fog-wrapped cedars — moody, ethereal, and nearly empty of visitors. Cold, but extraordinary.
- Summer (June to August): Lush green, dramatic storm light, and heavy rainfall that swells Kegon Falls to its most powerful. Humidity is real, but so is the drama.
Practical Tips for the Photographer Day-Tripper
- Bring a tripod — or at minimum a small Gorillapod. Low light inside shrine corridors and long-exposure waterfall shots both demand one. Check shrine rules: some areas restrict tripods, but outdoor areas are generally fine.
- Pack a polarising filter for lake reflections and reducing glare on lacquered shrine surfaces.
- Wear comfortable, slip-on shoes — you’ll remove your footwear at several indoor shrine buildings.
- The Nikko All Area Pass (¥2,860 from Asakusa, round trip + unlimited bus within Nikko) is excellent value and available from Tobu Tourism.
- Download offline maps before you leave Tokyo — the mountain areas can drop signal unpredictably.
One Moment I’ll Never Forget
On my second visit to Nikko, in late November, I was the last person at Kegon Falls observation deck before it closed at 4:30pm. The tour buses had left. The falls were thundering in the near-dark, and the mist was rising up around me in cold, silver clouds. I pressed my back against the railing and looked straight up: the canyon walls were still faintly orange with the last of the autumn leaves, and above them, a single pale star had appeared in the darkening sky. I forgot to take a photo for about three full minutes. I just stood there, soaking wet from the spray, heart absolutely full. That moment taught me something about why I travel with a camera — not just to capture places, but to have a reason to stay long enough to really see them.
Final Thoughts: Book the Early Train
Nikko rewards the photographer who plans deliberately and moves at a deliberate pace. Don’t try to rush every shrine, waterfall, and viewpoint into five hours — pick your priorities, arrive before the crowds, and give yourself permission to wait for the right light. Whether you’re shooting with a mirrorless full-frame or your latest iPhone, this mountain valley will hand you images that stop your friends mid-scroll. Buy the early train ticket, pack the polarising filter, and go find what I found on that misty October morning: a place that feels like it was designed to be photographed.